In this Canva Magic Design Tutorial, you’ll learn how to save you so much time when creating visual content! Canva’s Magic Studio is here and it’s packed with AI features, including Magic Design. In this post, we’re going to laser focus in on Magic Design and three ways to use it.
Canva Magic Design Tutorial:Canva’s Magic Design tool is an incredible feature that helps you create stunning designs effortlessly. Whether you’re a beginner or an experienced designer, Magic Design can streamline your creative process. This tutorial will guide you through using Canva Magic Design to create professional-quality graphics.
Step 1: Sign Up or Log In:
First, visit [Canva](https://www.canva.com/) and sign up for an account if you don’t already have one. If you already have an account, simply log in.
Step 2: Start a New Design:1. Choose a Template: On the Canva homepage, click on the “Create a design” button. You can select from various predefined sizes, such as Instagram posts, presentations, flyers, etc., or enter custom dimensions.
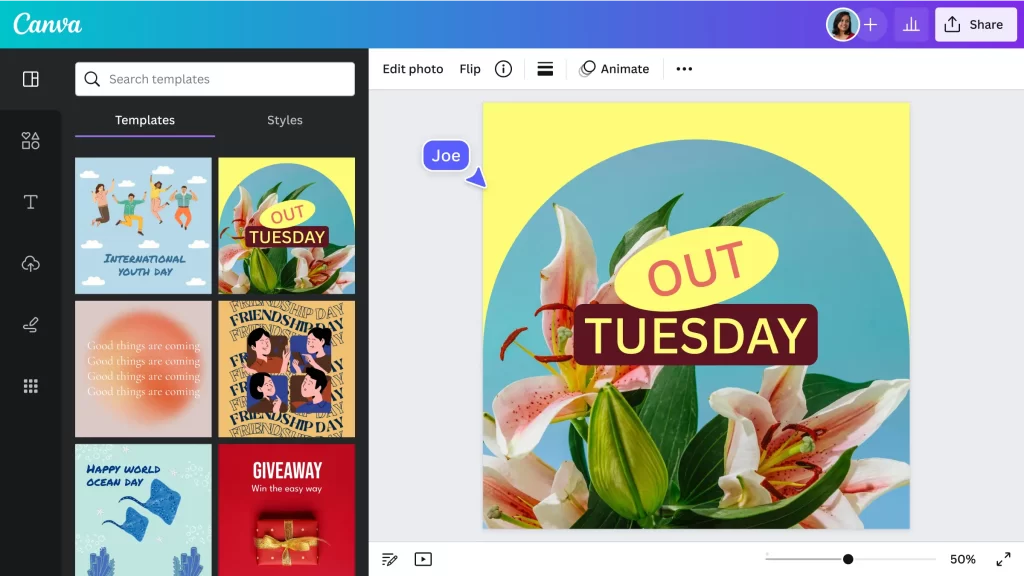
2. Explore Templates: Canva offers a wide range of templates for different purposes. Browse through the template library to find one that suits your needs. You can use the search bar to find specific themes or styles.
Step 3: Use Magic Design:
1. Upload Your Media: If you want to customize your design with your images, click on the “Uploads” tab in the left-hand panel and upload your photos or graphics.
2. Select Magic Design: Magic Design might not be directly labeled, but its functionality is embedded in various Canva tools. For example, when you upload an image, Canva automatically suggests layouts, fonts, and colors that complement your media. This is part of the Magic Design feature.
Step 4: Customize Your Design:
1. Replace Images: Click on the elements in the template to replace them with your uploaded images. Drag and drop your photos into the placeholders.
2.Edit Text: Click on the text boxes to edit the text. You can change the font, size, color, and alignment using the toolbar at the top.
3. Add Elements: Use the “Elements” tab to add icons, shapes, lines, and other graphical elements to your design. Canva’s Magic Design suggests elements that match the style of your project.
Step 5: Adjust the Layout:
1. Drag and Drop: Easily move elements around by dragging and dropping them into place.
2. Alignment Tools: Use Canva’s alignment tools to ensure your elements are properly aligned. Guidelines will appear to help you position items evenly.
3. Spacing and Grouping: Adjust the spacing between elements and group items together to move them as a single unit.
Step 6: Apply Effects:
1. Filters and Adjustments: Click on an image and use the “Edit image” option to apply filters, adjust brightness, contrast, and saturation.
2. Text Effects: Highlight text to apply effects like shadow, lift, or outline from the toolbar at the top.
3. Animate Elements: If you’re creating a digital design, you can animate elements by selecting the “Animate” option to add movement to your graphics.
Step 7: Review and Save:
1. Preview: Use the preview function to see how your design looks overall. Make any necessary adjustments.
2. Save and Download: Once you’re satisfied with your design, click on the “Download” button at the top right. Choose your preferred file format (PNG, JPG, PDF, etc.) and download your design.
Step 8: Share Your Design:
1. Share Online: Canva allows you to share your designs directly to social media platforms or via email.
2. Print Your Design: For printed materials, you can use Canva’s print service or download your design in high resolution and print it using your preferred printing service.
The post Canva Magic Design Tutorial (Save Hours of Time!) appeared first on Socially Sorted.
Also Read: 60+ November Social Media Ideas + Canva Templates (and more) appeared first on The SMITindia.